How to Add a Citation to Your Code#
Sharing and making your code citable supports others acknowledge your work, build upon it, and give you credit. Citation further supports making workflows open and documenting all parts of the scientific process.
What you will learn
How to create a DOI using Zenodo and GitHub
How to create a citation file to use on GitHub
What a DOI is
This lesson assumes that your code is already hosted on GitHub or GitLab with an open license.
What is Zenodo?#
Zenodo is a free, open platform for sharing and archiving research outputs, including datasets and software. It assigns a unique DOI to each item, making your work citable and easily discoverable.
Zenodo integrates with GitHub, allowing you to generate DOIs for your repositories in just a few clicks. It also supports versioning, so each code release gets an updated DOI. These features make Zenodo a go-to choice for researchers looking to share their work and receive proper credit.
pyOpensci on Zenodo
pyOpenSci has a Zenodo community where we “publish” talks that the community gives about the organization.
How does Zenodo work?#
Zenodo makes creating a DOI for your GitHub repository easy, ensuring your code is citable and discoverable. To create a DOI for your repo, you need to:
Link your GitHub account to Zenodo.
Enable your repository in Zenodo’s settings.
Create a release on GitHub—Zenodo will automatically generate a DOI and archive it.
Each release gets a unique DOI, while the repository keeps a persistent record, making it easy to track versions and credit your work.
How to create a DOI for a Python package on GitHub#
Step 1: Login to Zenodo#
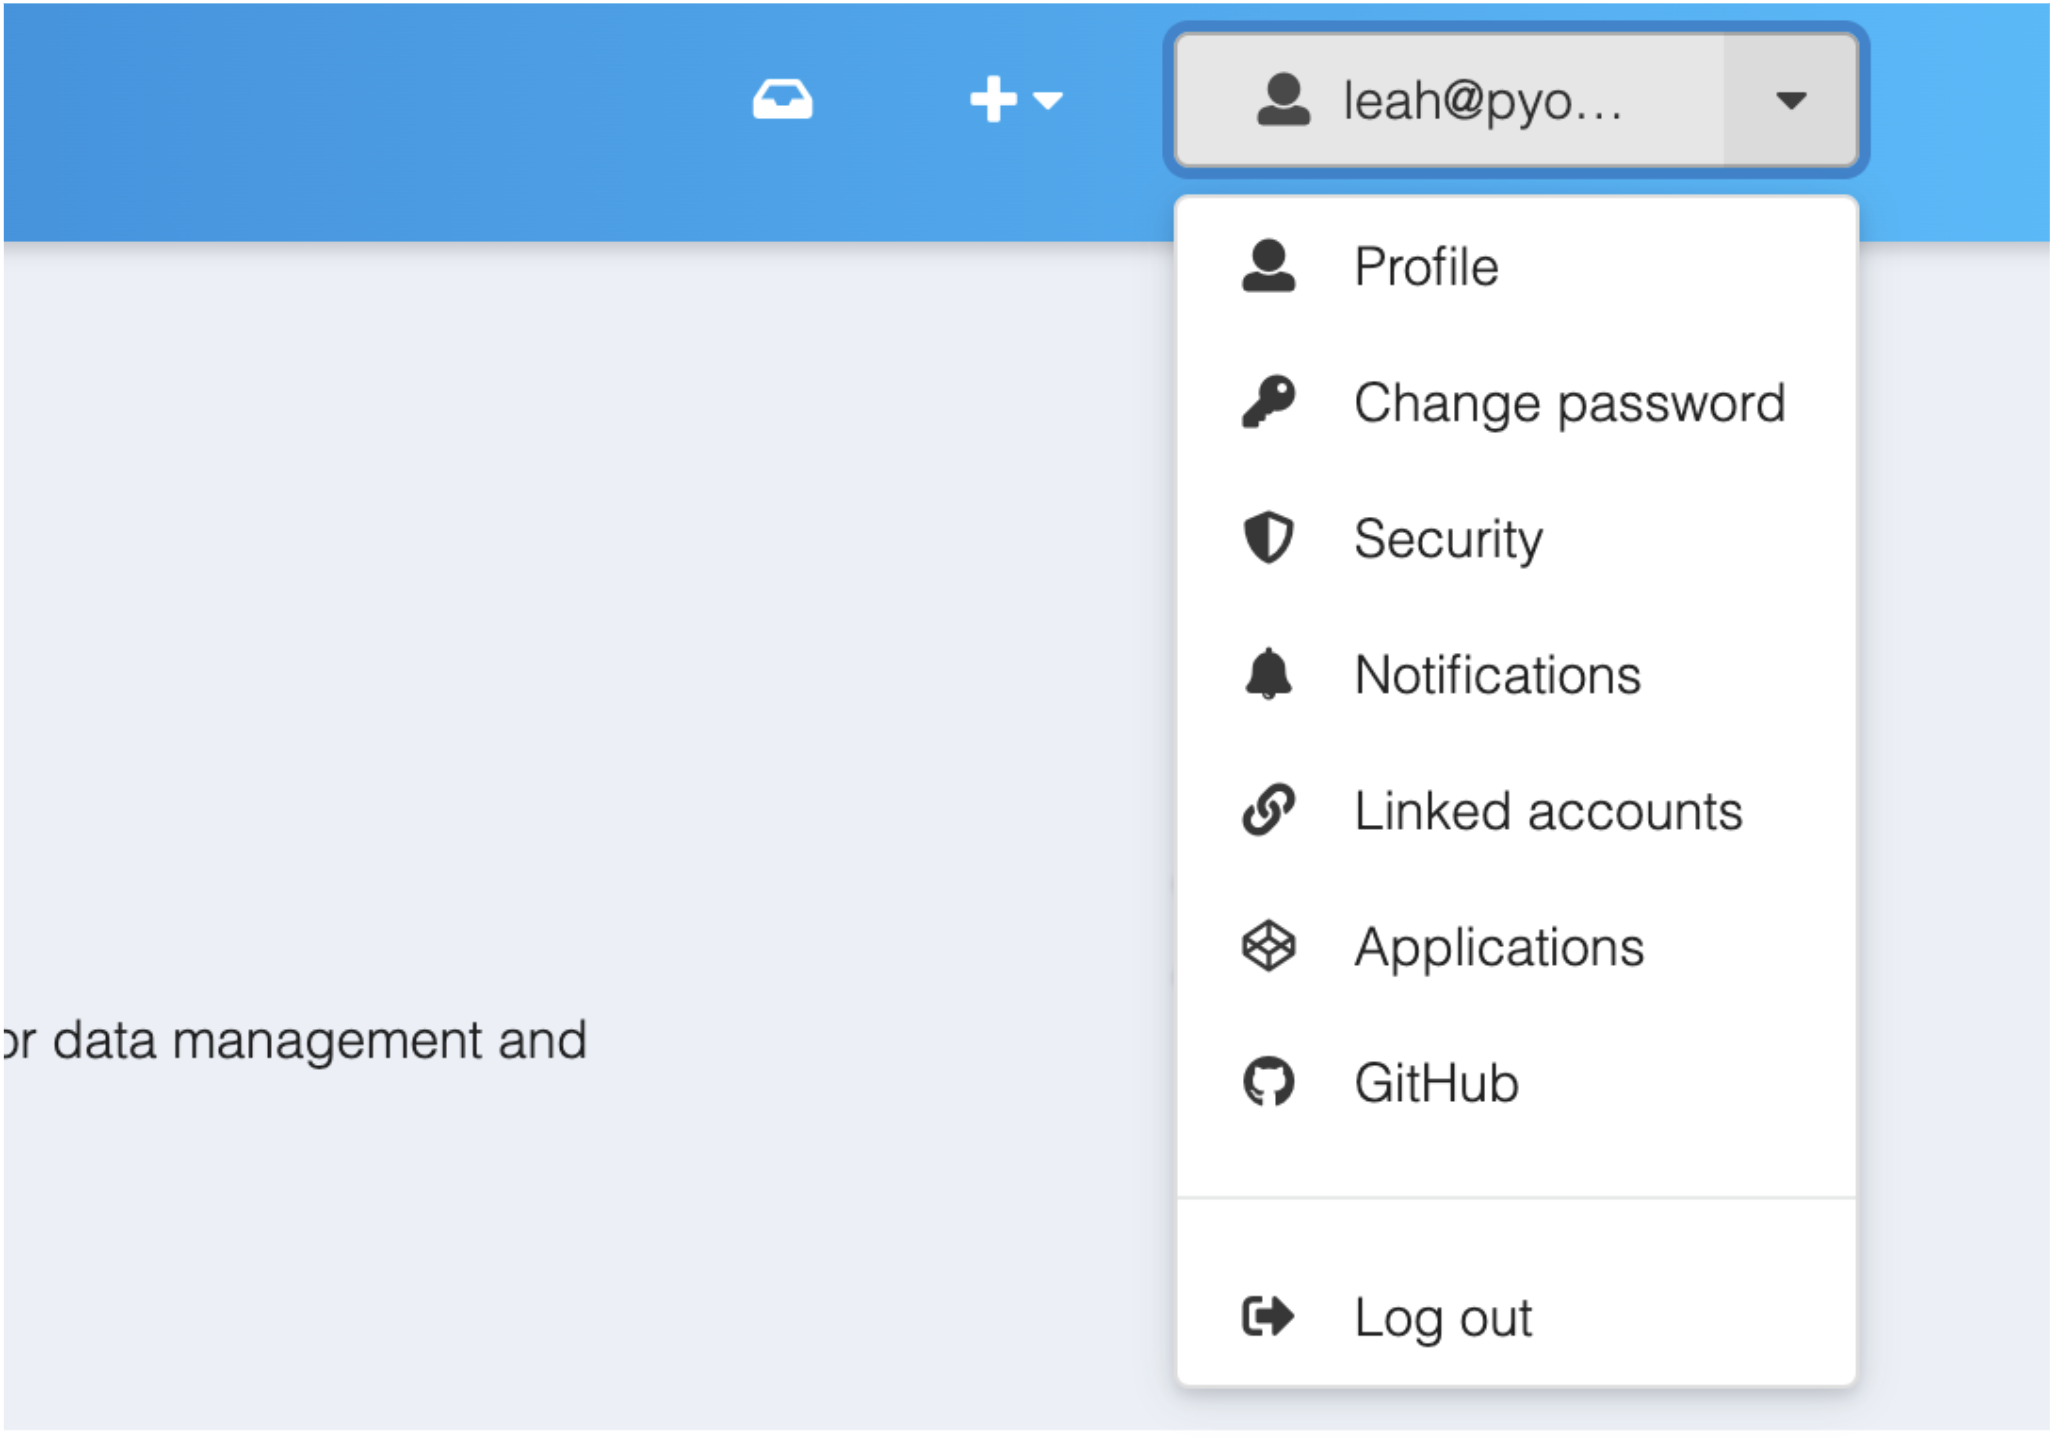
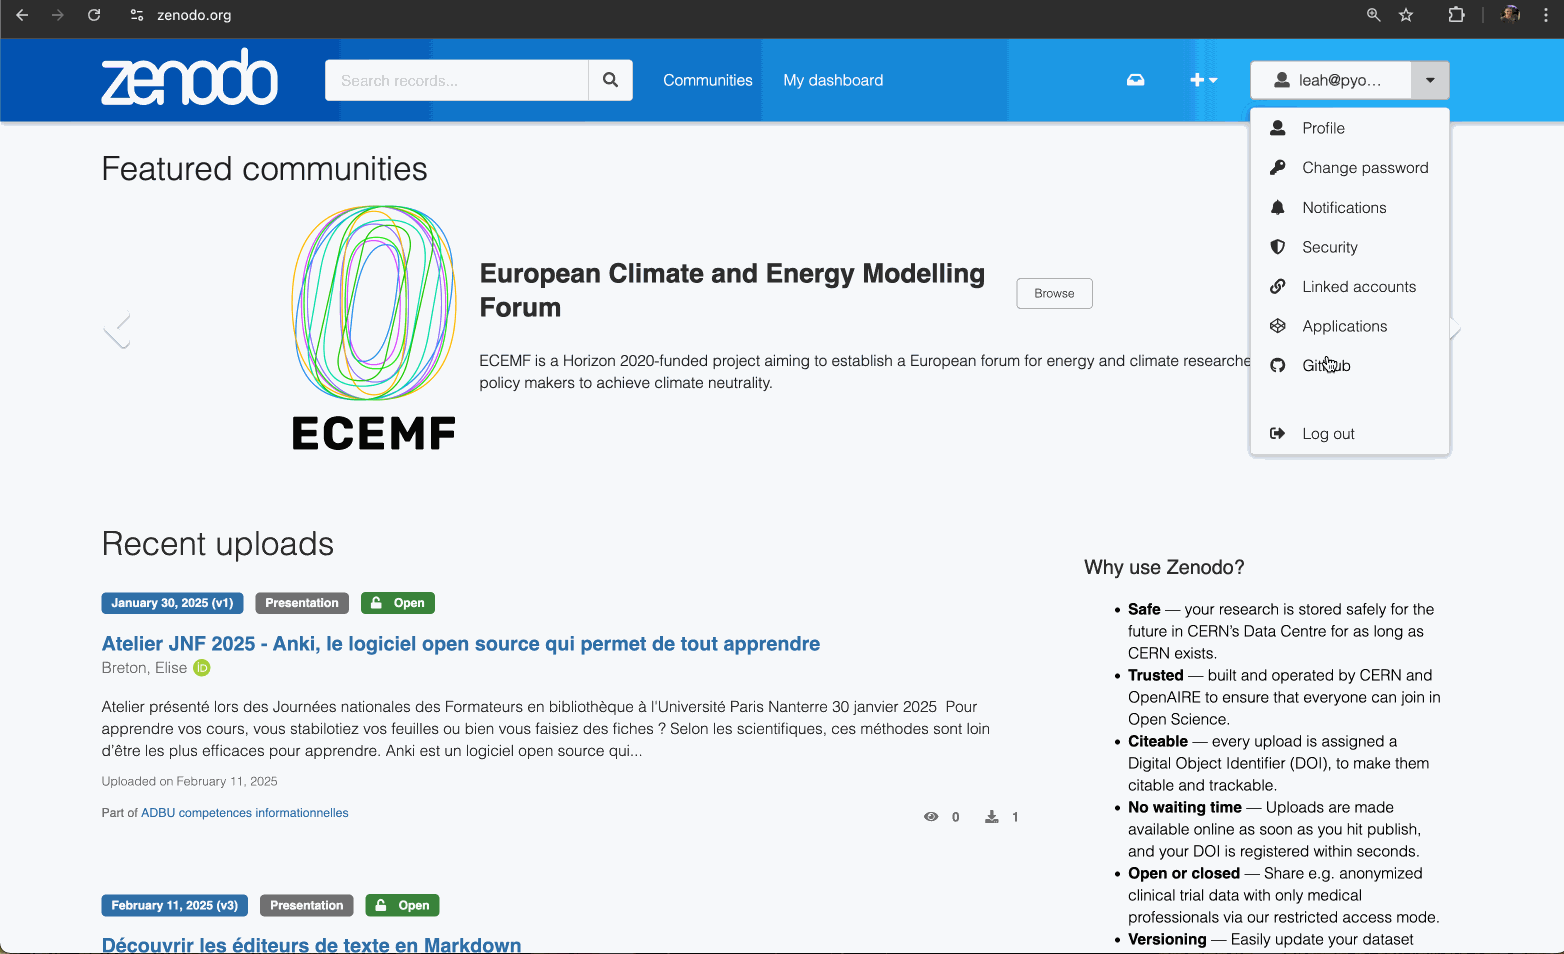
Go to zenodo.org and sign in using your GitHub account
Go to your profile drop-down and select “GitHub
You should see a screen like the one below. If you‘ve never used Zenodo before it’s ok if you have no repos listed here!#
When you go to the Zenodo GitHub page, you will see a list of repositories if you’ve used Zenodo before and synced your repos. If you haven’t yet synced them, read on to learn how.
Go to your account drop down and click on GitHub. You will see a list of repositories that you have access to. Click the Sync Now button to update that list.#
Step 2. Sync your GitHub repos#
Click the Sync Now button in the Get started section of the page to update the displayed list of GitHub repos. The repos that Zenodo fetches are the ones that you have ownership of or write access to.
The sync process will take longer if you have many access to many repositories. This might mean waiting a few minutes or more.
Tip
If you have access to many GitHub repositories through both your own account and other organization accounts that you may have access to, the sync button may take a long time to run. It could take 5 minutes or more for someone with hundreds to thousands of repos). Be patient.
Step 3. Flip the switch #
Once your repos are synced, you can “ flip the switch ” or turn on a connection between GitHub and Zenodo for your Python package.


Once your repos are synced, you can turn “on” the connection between GitHub and Zenodo#

Once Zenodo is connected to GitHub, the toggle will say On #
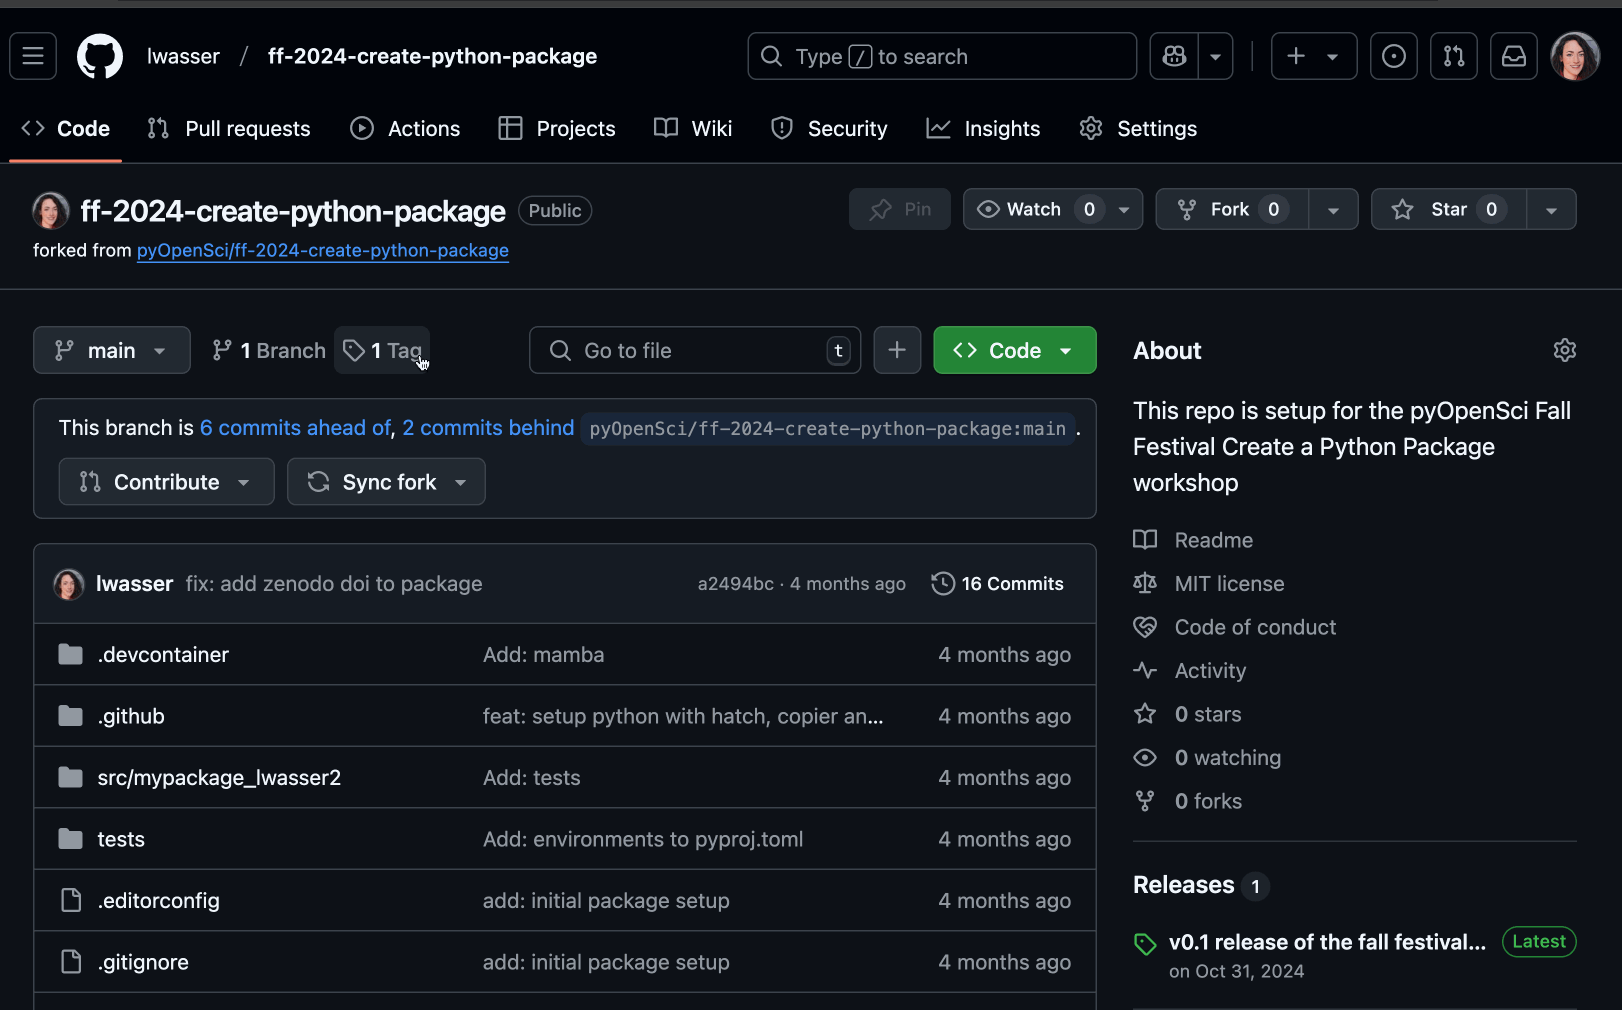
Step 4: Create a release of your package on GitHub#
Head over to your repository on GitHub.
Go to the releases tab in GitHub. The URL will look something like this:
https://github.com/your-gh-username/ff-2024-create-python-package/releases 238636
Click the Create new release button
Create a new tagged release
You can generate automatic release notes or type in notes yourself.
When you are ready to publish your release, scroll to the bottom of the page and click Publish Release. When you publish your release, Zendo will begin to do its job—generating a DOI for the repository and the release and processing the metadata for the release.
Once you are ready, you can create a release. Once you have created the release, zenodo will process it and create a badge for your repository. Notice that this screen cast is for a repo where a release already exists. The process is the same whether you have a release already or not!#
Step 5: Add your Zenodo badge in markdown to your project README file#
After you create a release, you will see a badge on the Zenodo website. If you click on it, it will provide you with a copyable badge format for markdown and other formats. Copy the badge in markdown format. You will add this to your readme file.
Important
Be sure to use the cite-all versions badge, which will always resolve to the most current DOI rather than a specific point in time.
Once you have created a GitHub release, you will see a badge next to the repository with a DOI. You can click on that badge to get a copy-able markdown version of the rendered badge that you can add to your README file.#
Step 6: Optional–Add your DOI to the GitHub repo: the citation.cff file#
Now that you have a DOI, add a CITATION.cff file to your GitHub repository to make it easy for others to cite your package.
Once you have a DOI, you can add a citation.cff file to your GitHub or GitLab repository. A CITATION.cff file standardizes citation information, making it easy for others to cite your work correctly.
What is a DOI?#
A DOI, or Digital Object Identifier, is a unique, permanent identifier assigned to digital content such as academic papers, datasets, software, and other research outputs. It acts like a stable web link that always directs users to the reference content, even if the location of the content changes. DOIs are commonly used in academic publishing to ensure that citations remain valid and materials are easily accessible. But you can also assign DOIs to software, data, and other research outputs and supporting elements.
By using a DOI, you can make your work more discoverable and citable, enabling others to locate and reference the material reliably now or in future research.
Ways to make your code citable#
There are multiple ways to get a DOI for your work and to make your code citable. Each way has its own benefits:
Write and publish a paper about your code in a journal like JOSS (Journal of Open Source Software) via pyOpenSci if you have written a Python package or another methods-focused scientific Journal. If you go the publication route, you will receive a cross-ref DOI that can be easily connected to your ORCID.
Use a platform like Zenodo. If you use Zenodo to create a DOI for your work, you will receive a DOI that is not CrossRef compatible. However, you can still add entries for that DOI in your ORCID profile page.
CrossRef vs. Zenodo DOIs - What’s the difference?#
In research, making your work citable and easy to find is essential. That’s where DOIs (Digital Object Identifiers) come in. But not all DOIs are the same! Let’s look at two common types: CrossRef DOIs and Zenodo DOIs.
CrossRef DOI: A CrossRef DOI is typically used for formal, peer-reviewed publications like journal articles, books, or conference papers. CrossRef DOIs help ensure that these published works are easy to cite and locate in academic literature. CrossRef DOI’s can also be easily connected to your ORCID.
The Journal of Open Source Software (JOSS), a pyOpenSci partner, offers CrossRef DOIs for scientific software with research applications.
Zenodo DOI: Zenodo allows you to create DOIs for a wider range of digital content, including datasets, software (like your GitHub repositories), preprints, and event presentations. Zenodo is perfect for making your code or data citable, even if it’s not part of a formal publication.
Both types of DOIs ensure that your work is easily found and cited. CrossRef is more focused on formal publications. Zenodo offers more flexibility by covering a broader range of research outputs.
By using the right DOI for your work, you help others find and cite it easily, no matter where or how it’s shared!